Showing posts with label recipe. Show all posts

Thursday, March 25, 2010

A more successful baking endeavor.

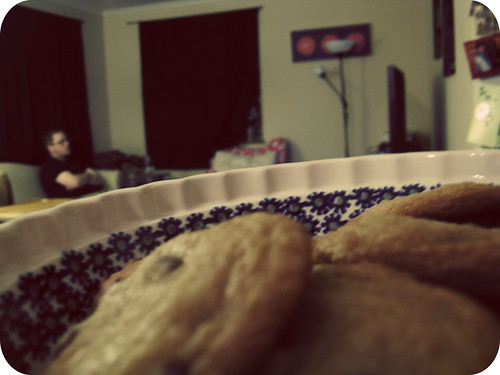
Because of my recent failed attempts at baking, I decided to do something a little more tried a true, so that I could feel successful. The answer? Chocolate Chip Cookies!!! Yep! Now, my cookies don't usually make it to cookie form, usually the dough just gets stuck in the fridge and eaten... but b-man wanted actual cookies... so I did end up baking them.

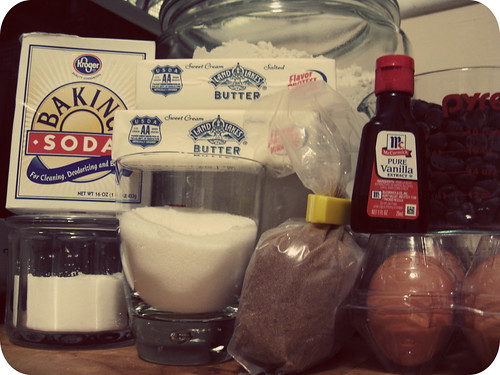
Step 1: You'll need 2 1/4 cup flour, 1 tsp salt, 1 tsp baking soda, 3/4 cup granulated sugar, 3/4 cup brown sugar, 2 sticks of butter (softened), 1 tsp vanilla, and about a cup of chocolate chips!


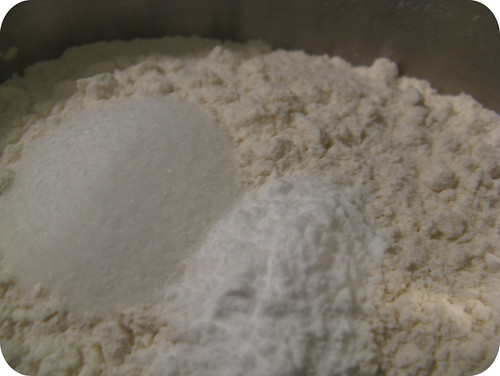
Step 2: Mix together the flour, salt, and baking soda in a small bowl.


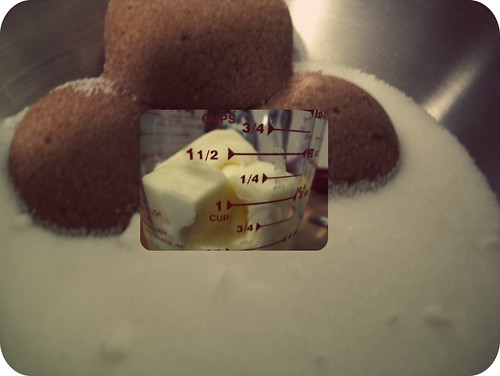
Step 3: In a larger bowl, mix the sugars, and butter.


Step 4: Keep mixing...


Step 5: Until it looks like this!


Step 6: Then add two eggs!


Step 7: After the eggs are fully incorporated, start adding the dry ingredients a little bit at a time.


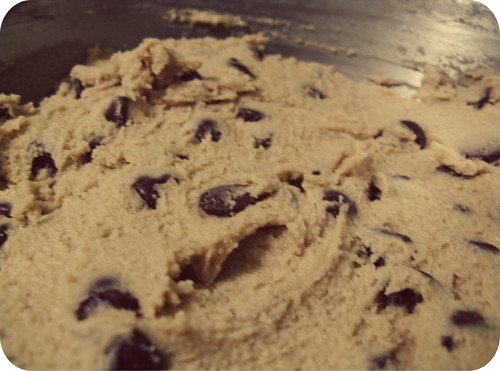
Step 8: Once you've added in all of the flour mixture, be sure not to break your favorite spatula drying to stir in the chocolate chips!


Step 9: Thoroughly incorporate the chocolate chips. I tend to add less than most people, because I prefer the dough over the chips. Adjust to preference.


Step 10: Bake for 8 minutes at 375 degrees. Serve with milk.


This was a much more successful baking spree. Yeah!!!!

Tuesday, March 9, 2010

Go-go-go-party!

Today I took a moment to love the dogs. I have been rather busy lately with volunteering, finishing up midterms, and trying to sleep. Lately, every time something happens I'm like "stop! I need to grab the camera!" But today the B-man took it upon himself to capture this moment. I'm happy he did, I love those dogs! It was nice to take a break from the "Go-go-go" of life, and just be loved.

After a good snuggle it was time to start in on dinner. We were having four other people over this evening, so I decided to do something easy. I will be honest - I did make too much, but Mr. BH showed up and wasn't hungry... or there would've been less left overs. That ok. So, the ingredient list is as follows:
I also used a few things I already had at home, like Taco Seasoning, and refried beans. I am kind of shocked that I bought pre-shredded lettuce, but to be honest, it was cheaper, the heads of lettuce looked pretty crappy, and it saved me a little work. I'm usually against this. lol.

I ended up being unable to use the avocado, which is a bummer, but it just wasn't ripe enough, and the guacamole turned out kind of gritty. Yuck!

I fried up the onion, made the chicken per the instructions on the taco seasoning, and then mixed the two. Toasted the shells, heated the soft tortillas, put out the diced tomatoes, lettuce, and sour cream, along with salsa, and some refried beans. Ta-da! Taco Bar! lol.

I also made home made chips. Taking the small corn tortillas I cut them so that each tortilla made six chips (not just four), and then I fried them in peanut oil, aid them out to dry on a cookie rack, and salted them. I'll have to get a picture of this rack, it's pretty nifty, as it is like three wracks that stack on top of each other. :)

Any way, we had a bunch of people over, and it was a lot of fun. We played Apples to Apples, and then a couple rounds of Clue. I had not played that game in a long time, so it was kind of interesting.

Now I am just waiting for my dear husband to finish up the dishes. As soon as he finishes we are going to bed. Tomorrow I am volunteering from 9 to... 4 ish... I think. So I should probably go back myself a lunch, and head to bed! Can you imagine, me, waking up before 9!!! Ridiculous!

Spring Break is almost half over... I need to do some of this "relaxing" I've heard so much about. What is your favorite way to relax?

Monday, March 8, 2010

Pancakes, chicken, Moose, and Me


I interviewed Moose today. Since he is the only first hand witness to everything going on in the kitchen, I figured he would be a good interview-ee. Sadly... I don't speak Koi. Bummer. All I got from him was that he didn't want me swimming in his bowl. Which, is completely understandable. I guess I will have to share my food adventures for myself.

Yesterday I made pancakes for breakfast. Rather standard weekend food. I love cooking breakfast, just in case you hadn't noticed. It's probably my favorite meal to cook. These pancakes were not just your average pancakes though, these were super pancakes.
Following the directions on the box I made the batter for the pancakes, per the instructions on the side of the bisquick box. Yup, fancy, I know. I divided the batter in half, so I could make some regular pancakes, and some special pancakes. I added about 2.5 - 3 tbs of cocoa powder to my second half of the batter.
After pouring out my little pancakes, I topped them with Reese's peanut butter chips. Since this is my husband's favorite combination (chocolate and peanut butter) I figured it would be a nice weekend treat!
I usually add a big dollop of sour cream to my pancakes, to make them a little more moist. I didn't this time, and thusly, all of the pancakes were a tad bit dry. This meant we were forced to add syrup, oh the humanity!!! lol.

End of food pictures!
____________________________________
Today I went an volunteered at tsd again. I just love working with those kids so much. Today I was working with one boy that seemed to be apathetic to everything I was saying to him, but Ms. H told me to think of it as monotone. Hmmm... interesting. Regardless, he got a lot of work done. I was thankful that he would make some eye contact, I saw some one else try to work with him, and he kind of just... refused. The other youngin' I worked with was such a perfect ball of energy that he just made me smile. YEAH! We were working on Capitol Letters. Too bad those words don't need them. lol. Editing these papers with these kids is just so much fun, and it's kind of challenging too. But I am so thankful for the chance to work with them.
Last week was crazy. I did very poorly on one of my tests, which is... lame... but I also did very well on my other two tests. Thankfully it is Spring break now. Hopefully this week I will be able to put together my tutorial for making your own Christmas stockings! I'm going to get there! lol.

Saturday, February 27, 2010

Recipe: Ebelskiver

Now, before I get your hopes up of eating delicious filled pancake balls... note that you really can't make them with out the special pan. I received this "special pan" from a relative at Christmas time. You can buy one for about $35 at Bed Bath & Beyond, mine came from William & Sonoma, but I think you could probably find one for less buy just searching amazon. (I found one for only $20.).

Also note, this is kind of time consuming. It took me over an hour to make about 40 of them. That's what the recipe makes, is 40 of these delicious morsels. Now, don't let that discourage you. It is perfect for a special breakfast (Valentine's day?) or for just a beautiful Saturday morning when your husband and the neighbor are out digging the back yard into oblivion. You don't really need an occasion.
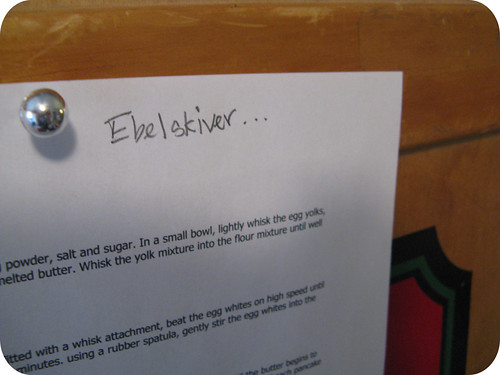
First things first, post up the recipe. I think I read it twelve times because honestly... I've never whipped up egg whites before. I clearly didn't read the directions well enough though, because I forgot to add the butter... shhhh. I added it in at the end and it didn't seem to make a difference. We'll just pretend that never happened.
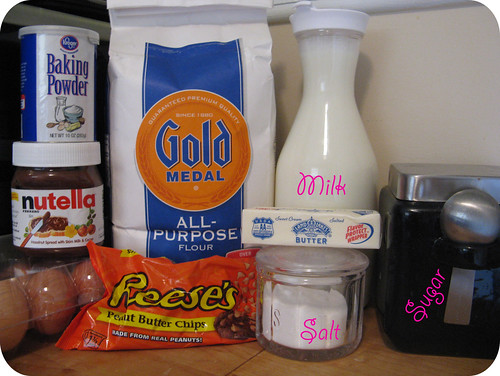
As for ingredients, you will need:

2 cups all-purpose flour
1 tsp baking powder
1/2 tsp salt
1 tblsp sugar
4 eggs, separated
2 cups milk
4 tblsp butter, melted (plus some for greasing the pan)
fillings: I used nutella, and Reese's chips...

A note on fillings: you can use what ever you want. Jams, fruit, and (supposedly) cheese. But, my husband and I each picked one filling, and ran with it. Do what ever sounds good to you. You'll see by the amount of sugar, that it's not a sweet batter (1 tablespoon of sugar!?) but it can go either way.

First: Add your dry ingredients together. The flour, baking powder, salt and sugar.... mix it up. We're all friends here!
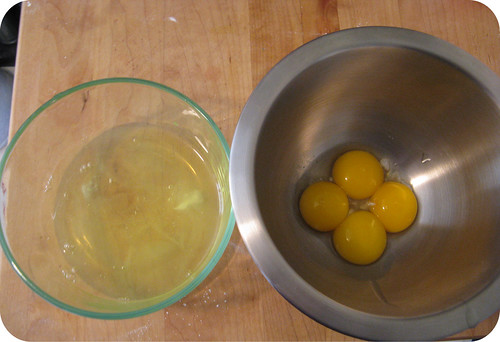
Separate your eggs. A note of egg separating: I usually use my hands. Yup. I think it's the easiest way to do it. Sadly that does not bode well for taking a picture. If you do get yolk in your whites... just take a spoon and kind of pick it out. It'll be fine.

You'll want two bowls, since you will need both the whites and the yolks. Make sure your bowls are big enough to accommodate future ingredients.
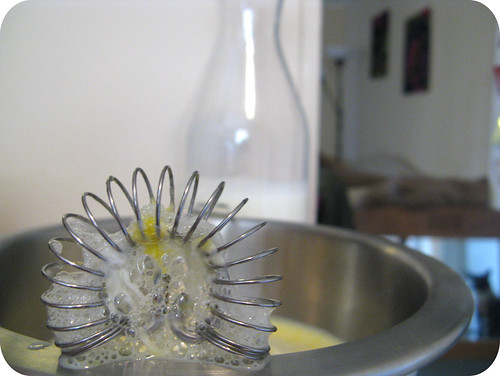
Add the two cups of milk and four tablespoons melted butter to your eggs yolks and WHISK!
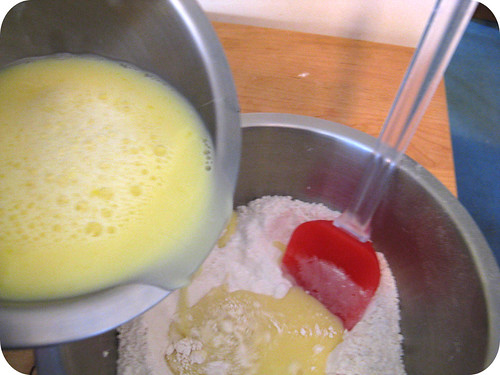
Pour yolk/milk mixture into your dry ingredients a bit at a time, then stirring until you've added all of it. The batter is going to be kind of lumpy (my least favorite thing ever). Just go with it. You're not done yet!
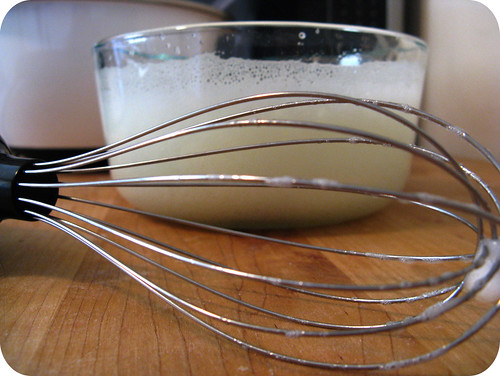
Whisk them egg whites. The instructions say "Use an electric mixer with a whisk attachment." I happen to have one of those... so I did just that. For 3 minutes. If you don't have one of these handy dandy things... just use what ever you would regularly use to whisk egg whites.

Whisk until they are stiff, but stop before they start to form peaks.

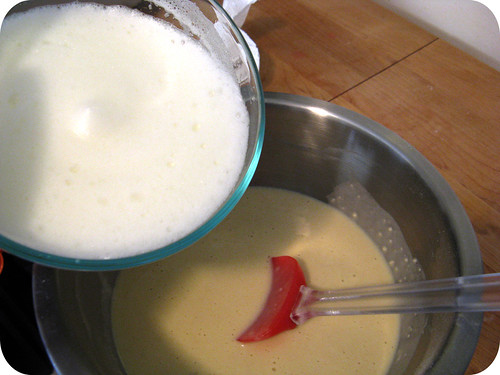
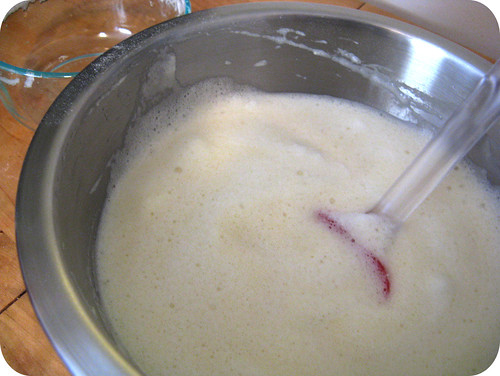
Add the whisked up egg-whites in two parts, gently mixing it into the batter. I take "in two parts" to mean add half of it, mix, add the second half, mix. Then the batter should look kind of frothy, but still a bit lumpy. Sad.
Lumpy, frothy batter.

Now, to the cooking portion. The pan needs to be on the stove, on medium heat. Mine is measured in simple numbers, 1 -9 and I had it set on 4. After your pan has been heated, you will want to put a little bit of butter in each "well" of the pan. That way your ebelskivers won't stick.
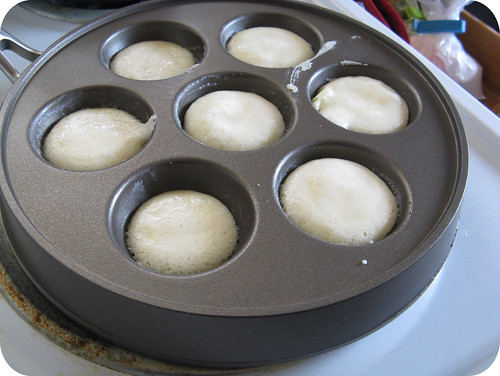
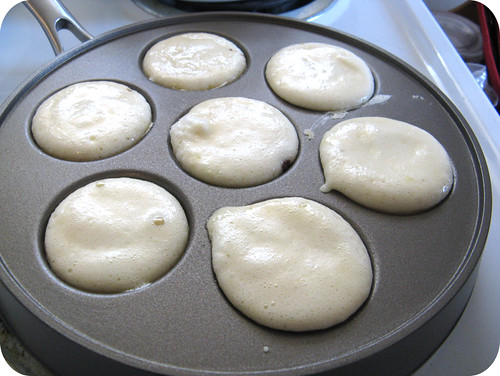
Add about one tablespoon of batter to each well. Then let it sit for a minute. If you add the filling too soon then it will just sink to the bottom and burn and you'll have to clean the pan before your next attempt and it'll be a big pain. So just wait.

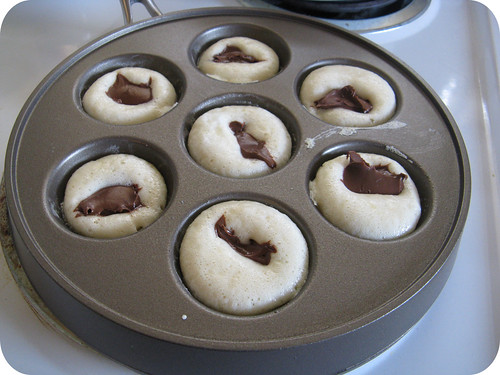
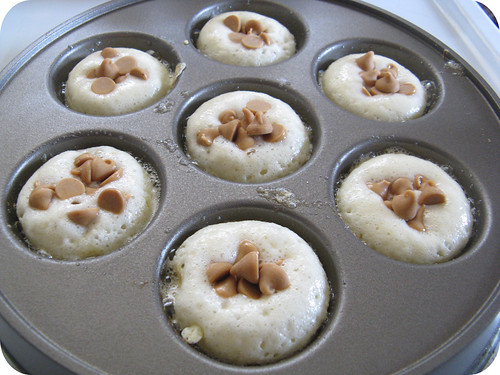
Add your filling. About a teaspoon, if it is something measurable. I didn't measure my filling. I just scooped up a bunch, and then used another spoon to section the chunks into the little pancakes. Very technical, I know.

Also, don't get the filling on the pan. Messy. I know, my pan looks awful, I have a hard time keeping batter where it is supposed to be. You should've seen the stove top when I was finished. There is no picture of that mess.

I love Nutella. A lot. More than any grown woman should ever love Nutella. Nutella does not love me. It's a one way street.
I had some Reese's chips from a previous baking endeavor, so this was B-man's choice of filling. I did make some with both Nutella, and the peanut butter chips, but none to show of.
And then add another tablespoon of batter to the top. (umm... I didn't do this either. I just added enough to cover the filling, and fill the well. If you add too much, and it is above the well, it will be a pain in the buttocks to flip over. You are forewarned.
This next step is the bane of my existence, and may or may not have made me cry.

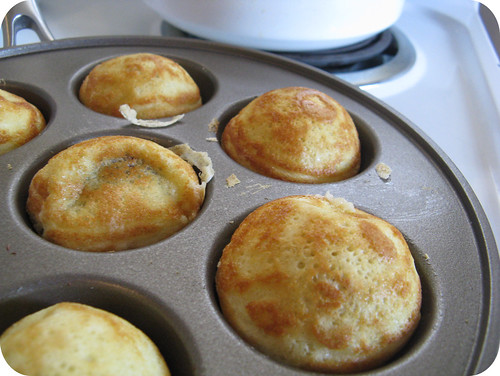
After your ebelskivers have been cooking for 3-5 minutes you will see little bubbles come up. I watched a video on this, and the lady made it look easy. LIES! She used two wooden skewers. I used a chopstick and a spoon. Pretty much you just have to flip them over. I pushed the little bowl of batter down on one side, then scooped it over with the spoon. Really... you just kind of have to figure it out. But don't pick it up with the spoon and try to flip it (that's how my pan got so messy), and don't do it too early (another reason it was messy.) Any way, you should end up with the beautiful little Danish breakfast treats.

After you flip them, let them cook for another minute or two so that the other side can brown a little as well.
After trying to flip my ebelskivers... this was how I felt. It was not my best moment. Thankfully I had the joy of knowing I had gotten flour on my husband's sweatshirt instead of mine. I'm trying to think positive.

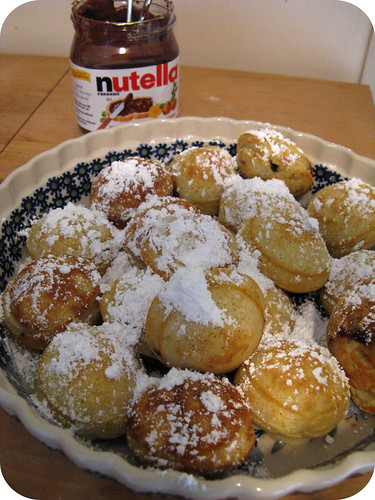
Thankfully these little buggers are delicious, and make up for a messy stove, a messy pan, a floured sweatshirt, lots of dishes and a deflated ego.

And look! It's snowing in Ebelskiver-land!


Friday, February 26, 2010

Recipe: Orange Bread


My roommate from last year asked me for this recipe. Sadly, I do not usually write down... or use... a recipe, so I went and got the stuff to make this yummy dish... just for Amanda!
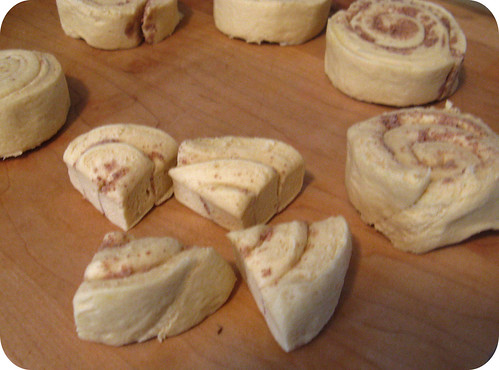
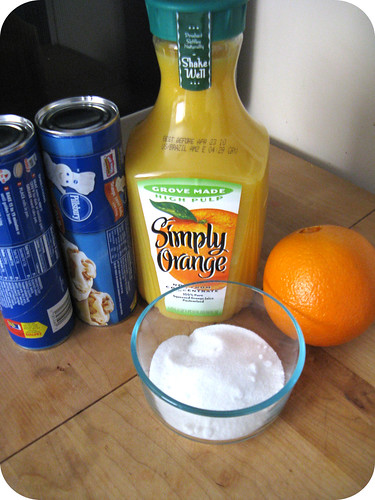
First you will need 2 cans of cinnamon rolls... or sweet rolls. I used the orange flavored ones. You will also need 1/2 cup of orange juice, 1/4 cup sugar, and 1/2 tsp orange rind.
Preheat the oven to 400 degrees. Then Spray your 9x13 pan with no-stick cooking spray.
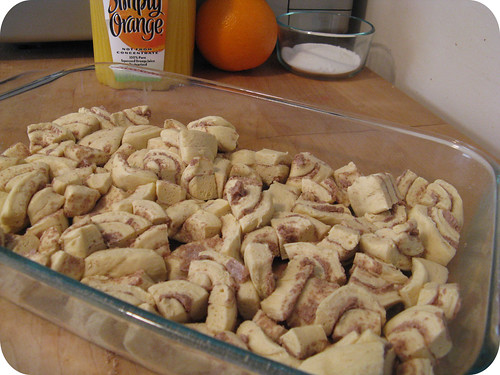
Separate your rolls, and then cut them into quarters.
Then squish all of them into the pan. Do not let them over lap so much, just push them over, and add more.
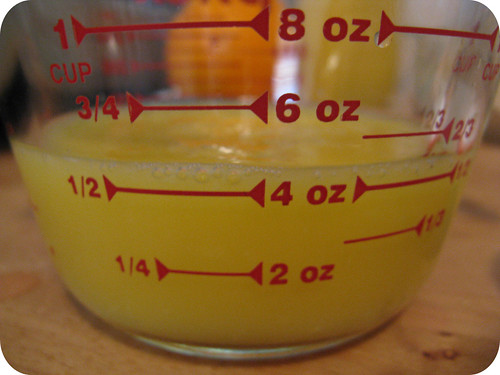
Measure out your 1/2 cup of orange juice.
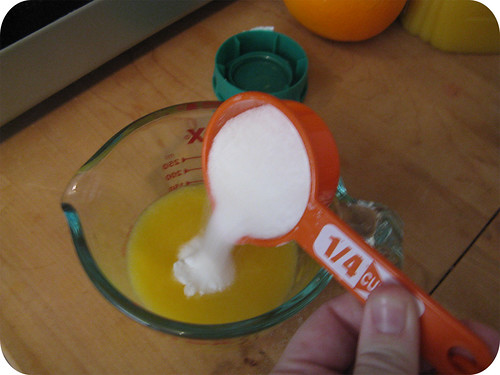
And 1/4 cup of sugar.
Add the sugar to the orange juice. At this point you also want to add 1/2 tsp of orange rind.
Whisk.
Promptly pour the mixture over and around the bread bits. Once it's all in there, pick up the pan and tilt it around until all of bits have the juice mixture on/around them.

It should looking like this.
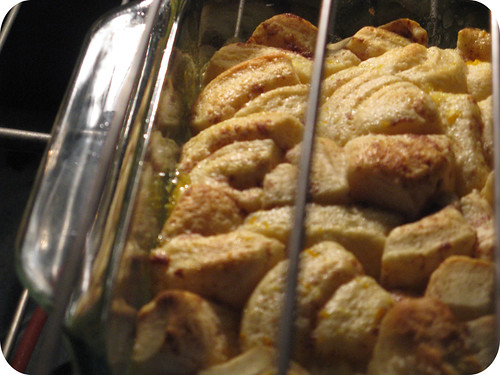
Put it in your preheated oven and let it cook for 15 minutes. This was the perfect amount of time for mine, but it might be different for you. Just watch them, they should be golden brown and bubbly on the sides.
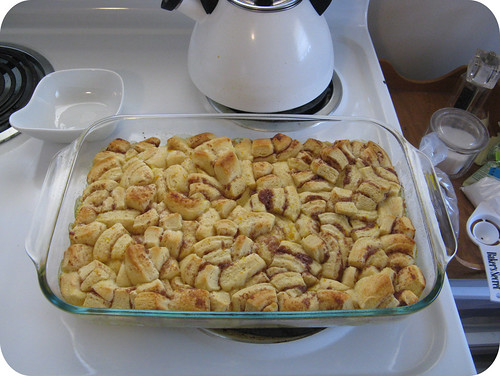
Here is the overall view of the deliciousness. Just looks... like cut up cinnamon rolls.
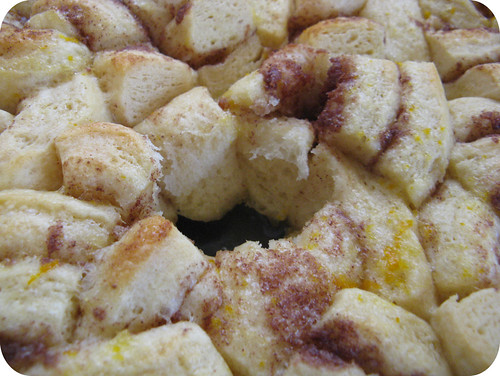
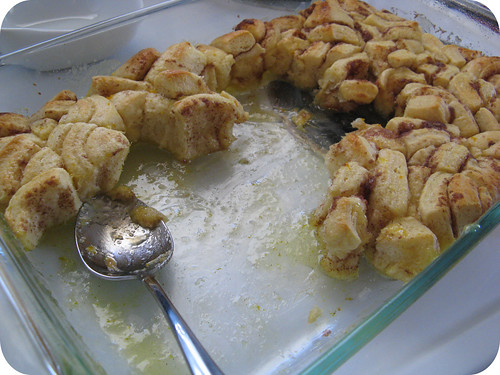
You should be able to just pull out one piece, leaving a pretty little hole. :)
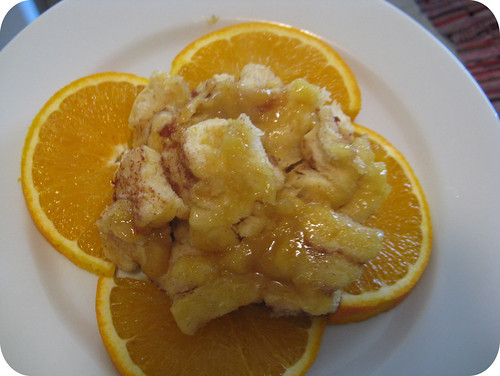
Scoop it out onto your plate, but put it upside down. Then you will see the orange sticky goodness.
Get yourself a glass of orange juice. Remember, everything tastes better in a pretty glass.
Hopefully, if you've done it right, the end result will look like this!

Also, I know it comes with icing. If you're in for a real sugar rush, go ahead and put it on top of the bread, as the directions say. I may or may not have done this after finishing my pictures. lol. Regardless, these are delicious with out the extra frosting.